Dual Boot Android 5.1 and Windows 8.1
 Won’t it be great if you can do a dual boot of Android 5.0 and Windows 8.1 in your laptop? There are 2 things in this world that you cannot do without, your computer and your smartphone. That is why not too long ago, hybrid laptops appeared in the market with the capability to switch between Android and Windows. But such laptops with dual booting capabilities generally cost a lot more than the normal laptops. It is like you can buy one tablet and a laptop and the total amount spent is a whole lot less than buying one special laptop with Android and Windows built in.
The good news is that you can easily do a dual boot Android 5.0 and Windows 8.1 yourself. Dual-booting Android and Windows is nothing new, in fact, most users would have heard of it a few years back. I knew about it too. But back then, full support and features pale in comparison as compared to getting a tablet on its own. Stability and actual ease of use played a big part as well. I have tested the current Android builds and I am not only amazed at the compatibility in terms of the features, but also impressed at how 99% of a laptop feature and functions actually worked. For instance, brightness, WiFi, LAN cable, touchpad multi-tap features and even sleep and resume. I am unable to test the touch screen, as my laptop does not have a touch screen, but I am sure that there is a very high chance that it will work. It is not difficult and I am sure everyone can do it. I have found a way to ultilize the maximum space of my HDD for the Android x86, unlike how the community says you can only max out at 2048 Meg.
Dual Boot Android 5.1 and Windows 8.1
STEP 1 – Create an Android USB installer.
Download the iso file from the website. You can also create a CD out of it, but these days, nobody talks CDs anymore. Simply choose the one that is right at the top.
http://www.android-x86.org/download
Download any iso to USB creator and it should work fine. I personally prefer the trusty Rufus as it does not come with any malware and it has the option to even select other operating systems and will do the download for you.
STEP 2 – Create an extra partition.
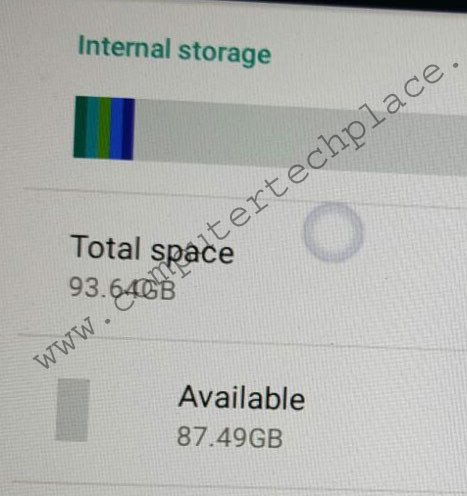
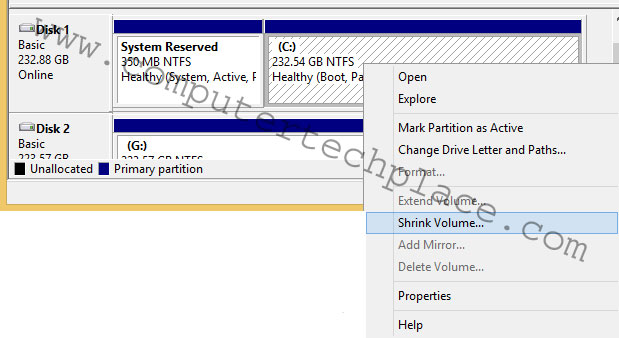
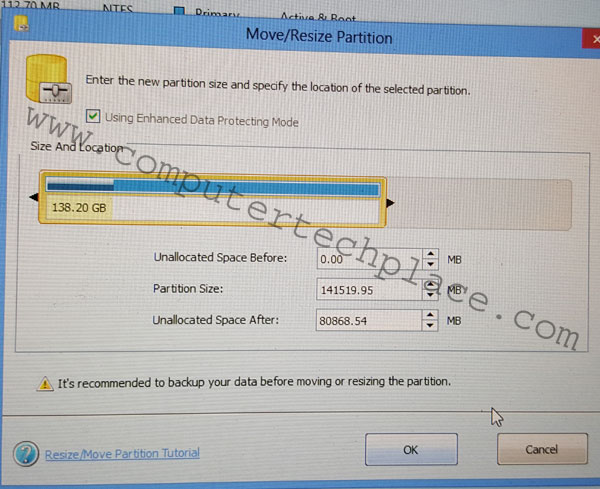
Windows 8.1 has its own resizing capability. Simply use Diskmgmt.msc to resize your drive. My suggestion is to use Google to calculate the size so that you can type for a more precise resizing. Since Android itself does not have much purpose as your laptop where you need the space for tons of patches, games and work. You can set any amount of space for your Android.
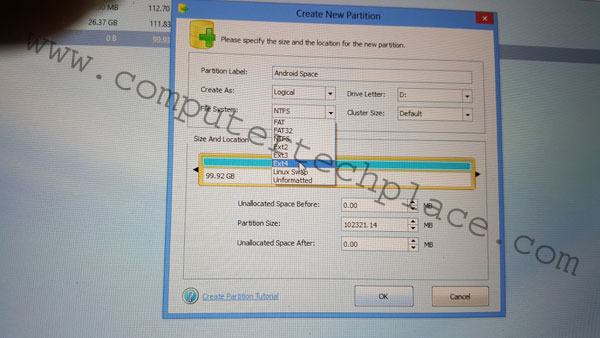
Once you have resized a partition, there is no need to initialize or format. You will need to format the partition to ext4. Download the mini-partitioning tool and format the partition to ext4 from Windows.
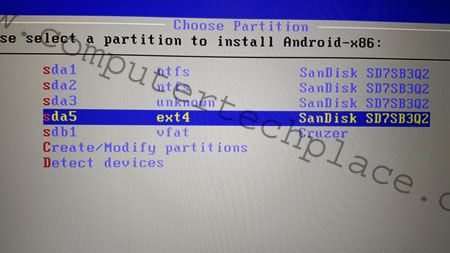
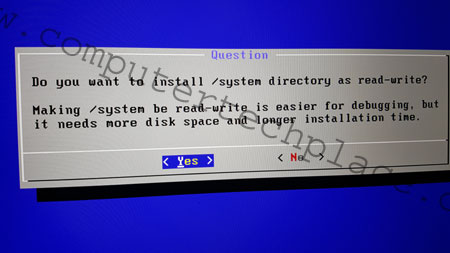
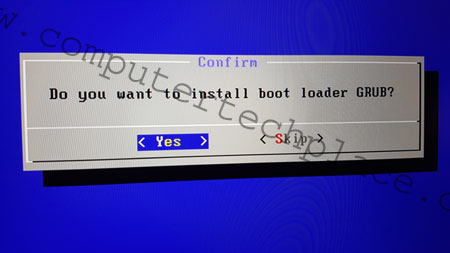
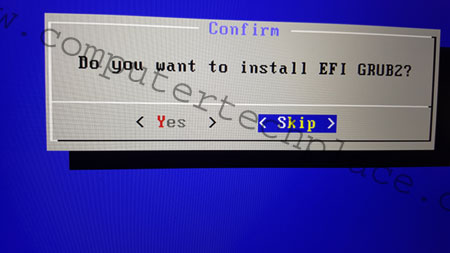
STEP 3 – Installing of Android
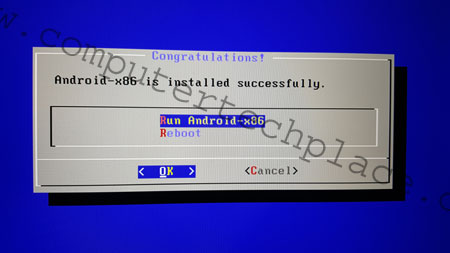
Simply insert the iso that you have created and it will auto load like any bootable operating system installation CD or thumb drive. There is not much to think about, simply choose install to the local hdd. The screenshots will typically detail the options that you have to choose.

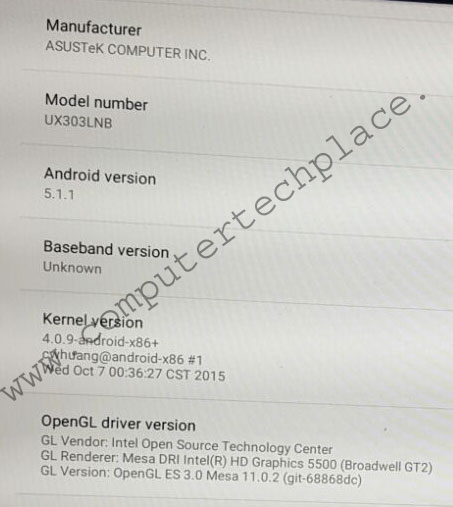
STEP 4 – Use the Android.
For me, everything works, from screen brightness to sound controls, Wi-Fi and even LAN. A few points that I observed from using it.
1. Android does go to sleep or dims the screen, it will come back up after you tap the keyboard, but it will be in a frozen state. You can either wait for it to come back on its own, or for my case, I pressed the on/off button and it springs to life.
2. To do a flick off to close the app, tap 2 fingers on the touchpad and do a flick motion.
3. To pull down the notification tab, move your mouse to the top, tap 2 fingers on the touch pad and pull it down from the top
4. You can insert SD card or thumb drive and install link2sd for more space. Opt for those mini thumb drive that are as tiny as a USB receiver unless you want the extra space to stick out unsightly like a sore thumb. Well, now that I have found out a way to create more storage, SD card is actually redundant.
5. You cannot access the Windows partition and the Windows cannot access the Android partition. To transfer files, you will have to use a thumb drive. After which, reboot into the other operating system and copy them over. You might also consider dropbox, etc.
I will say that having a dual boot of Android 5.1 and Windows 8.1 in a laptop is useful. It is still very helpful if you intend to read some news on the go and you do not wish to carry an additional tablet around. These days, some laptop models like the Surface Pro can easily double up as an Android with itself looking like a tablet.
Just imagine that you are traveling to work, and you start off with your laptop running Android reading the news. Checking Facebook and playing some casual games on your laptop. Once you reach your office, restart your laptop and boom, now you are using Windows and kicking off your daily work. Bluestacks might be one option, but Bluestacks is running on top of Windows which is wasting precious battery life.
Leave a comment