Network Ubuntu And Windows Using Samba
 Hello everybody and welcome to Computer Tech Place guide on how to network and share files between Windows and Ubuntu. In order to share files between Windows, Ubuntu uses a program called samba. There is no need to worry about how the name and why it came about. Basically it is just an introduction to the whole issue about getting Ubuntu and Windows linked. Ubuntu has evolved much over the years and now you can do a lot of configurations and installing of programs without the need to use complicated Linux commands. Even though it can still be done via the “Terminal”, I think a graphical user interface is more user friendly for normal folks like us.
To begin any form of sharing, you need to be very sure which folder you want and wish to set aside for the sharing purpose, since it is not really logical if you intend to share the entire drive including folders that belong to the operating system. This means that you put yourself at risk of allowing other people the chance to extract personal information from you.
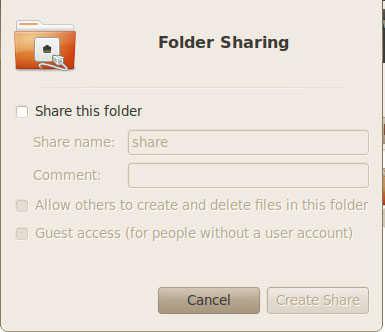
For instance, create a folder on your “Desktop” and name it share. Right click on the folder and you should be able to see an option in the menu called “Sharing Options”. Click on that and you will get a menu to set the options for “Folder Sharing”. Simply put a tick on the “Share this folder” box and the rest will be automatic.
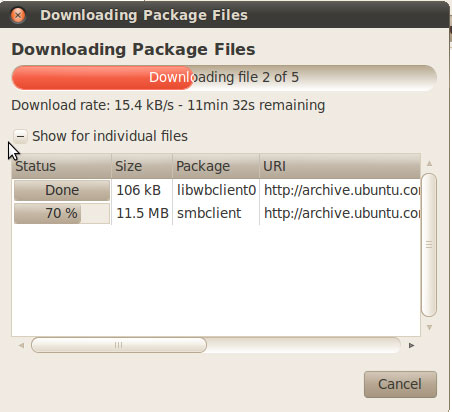
But some users may see a prompt telling you that the system is unable to authenticate the packages, this means that you need to reload your respositories. After which the installation should proceed fine without any issues.
After the File Sharing packages are downloaded and installed, it will ask for a restart of the service. You will need to click on “Yes” but there will be no full restart of Ubuntu required. It is just a one second click and it will be done job.
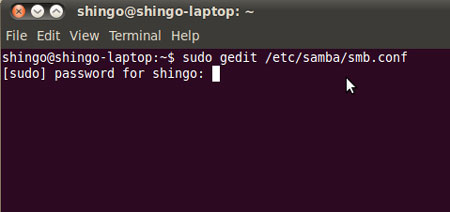
The next step is to configure the file sharing configuration file so that it will join the correct “Workgroup”. Using the Terminal. Type this command
sudo gedit /etc/samba/smb.conf
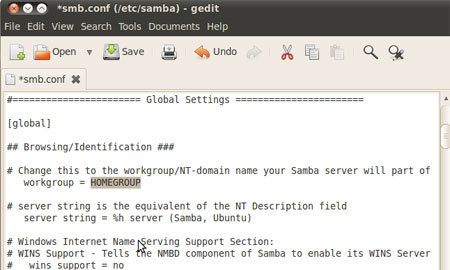
You will see a text editor with some complex configurations in there. Use the “Search” feature and search for workgroup. Change the name of the entry to the workgroup that correspond to your workgroup name used in the Windows operating system. You can find out how to check or change your Microsoft Windows workgroup by checking out this article.
Remember that if you change the name of the workgroup of the Windows computer, you may lose network connection to the other systems that are previously networked together. Be careful not to mess up everything.
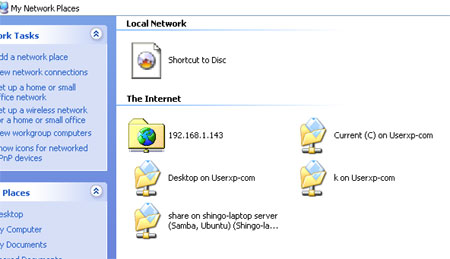
If you set the workgroup name correctly, you will be able to see the Ubuntu folder on the Windows system. I hope this guide on how to network Ubuntu and Windows using Samba is easy for all to follow.


Leave a comment